Safer college drop-off loops start with clear pedestrian routes, predictable vehicle movements, and pavement that supports both. For campuses in the Town of Poughkeepsie, the right approach may combine localized repairs, revised line striping, accessible loading areas, and carefully selected traffic calming. This guide explains how to assess pavement and circulation together, choose improvements, and keep campus access working during construction. It also covers winter maintenance, sloped sites, written scopes, and owner preparation so facilities teams can make decisions around actual campus use rather than appearance alone.
Drop-off loops and pedestrian safety at colleges in the Town of Poughkeepsie
A safer college drop-off loop gives drivers a clear place to stop and gives pedestrians a direct, visible route to the building. In the Town of Poughkeepsie, that means assessing pavement, crossings, accessible loading, shuttle operations, and winter maintenance as one system. Fresh lines help, but they cannot correct a crossing hidden behind a stopped van or a walking route that ends at a curb.
Start by separating three activities: vehicles moving through, vehicles loading passengers, and people walking toward entrances. A one-way loop can simplify decisions where the site supports it, but it is not automatically the best layout. Its usefulness depends on entrance geometry, queue space, shuttle turning needs, and where students actually walk.
Observe the loop during class changes, busy pickup periods, and evening use. Note where drivers pause, where passengers exit, and where pedestrians cross without using the marked route. Include people using wheelchairs, walkers, and canes, along with passengers handling luggage or equipment.
The central question is whether a first-time visitor can understand the loop without staff directing every movement. Loading zones, through lanes, crossings, and no-stopping areas should communicate different functions. Pair markings with appropriate signs and a practical operating policy.
For campuses near Route 9 or other busy approaches, check whether waiting vehicles could reach the public road. Changes involving a driveway, sidewalk, or public right-of-way may require agency review. Confirm jurisdiction with the Town of Poughkeepsie's building or engineering department; a Town address should not be treated as a City of Poughkeepsie approval matter.
Read the pavement and watch how people use the loop
Inspect the pavement on foot before deciding that restriping is enough. Look for loose aggregate, potholes, open cracks, uneven patches, and broken edges beside loading areas. Pay particular attention to places where passengers step down from vehicles and where mobility devices leave the pavement.
Different conditions point toward different work. Faded markings on firm, even pavement may justify cleaning and restriping. Connected cracking, depressions, or patches that keep settling can indicate movement below the surface and deserve closer investigation before a surface treatment is selected.
- Surface defects at loading bays, crosswalks, curb ramps, and shuttle stops.
- Standing water, sediment trails, and runoff crossing pedestrian routes.
- Places where stopped vehicles block views of approaching pedestrians.
- Unclear lane boundaries, conflicting old markings, and missing signs.
- Observed queues, shuttle turning paths, and informal pedestrian shortcuts.
Inspect after rain when possible, and revisit suspicious areas during spring thaw. A loop can look serviceable in dry weather while holding water at the exact point where a wheelchair user needs to travel. Photographs taken from both a driver's position and a pedestrian's position reveal different problems.
Also check after dark. Pavement markings cannot compensate for poor lighting or landscaping that blocks views. Where settlement or widespread cracking suggests a deeper issue, pavement cores or other investigation may be appropriate; these checks help distinguish a surface repair from work involving the supporting stone and soil.
Place loading bays and crossings around real campus movements
Put passenger loading where people can reach a continuous walking route without threading between moving vehicles. Where feasible, arrange loading so passengers step onto the sidewalk side rather than into a travel lane. Keep the through path distinct enough that a driver stopping briefly does not unintentionally block the entire loop.
Crossings should follow useful walking routes while remaining visible to approaching drivers. A crossing immediately behind a shuttle loading position may hide pedestrians from passing traffic. The solution may involve moving the stop, shifting the crossing, limiting stopping nearby, or changing the circulation pattern rather than simply adding more paint.
Accessible passenger loading and accessible parking are different facilities. Where an accessible loading zone is required, its vehicle space, access aisle, connection to an accessible route, and any overhead clearance need coordinated review. An access aisle is the clear space used for transfers; it is not storage, a waiting lane, or a convenient place for cones.
Have the campus accessibility lead and a qualified designer review curb ramps, grades, detectable warnings where required, and route continuity. A common accessibility limit is a maximum cross slope of 1:48 for accessible walking surfaces, subject to the applicable standard and facility type. Cross slope means the side-to-side tilt, which can be difficult to judge by eye.
Balance pedestrian convenience with vehicle maneuvering. Confirm that campus shuttles, delivery vehicles, and fire apparatus can use the revised layout without crossing protected waiting areas. Keep bicycle travel and micromobility parking out of loading access aisles, and give ride-hail drivers an identifiable pickup location that matches campus directions.
Choose striping, pavement repairs, and traffic calming for the actual problem
The realistic options range from a marking refresh to pavement reconstruction with geometric changes. Choose the smallest intervention that addresses the documented problem, not simply the most visible improvement. At Avello, we approach line striping and traffic-calming work as parts of the same circulation plan.
- Cleaning and restriping fit sound pavement with faded or confusing markings. Remove conflicting markings rather than leaving two readable layouts.
- Localized patching fits isolated broken or depressed areas. Address weak support where found, then restore a smooth transition.
- Milling and resurfacing fit broader surface wear when underlying support is suitable. Milling removes existing asphalt to manage elevations.
- Reconstruction fits areas with extensive support problems or necessary grade changes. It may include replacing underlying material.
- Traffic calming fits a documented speed or driver-behavior problem, provided the selected device works with campus vehicles and pedestrian routes.
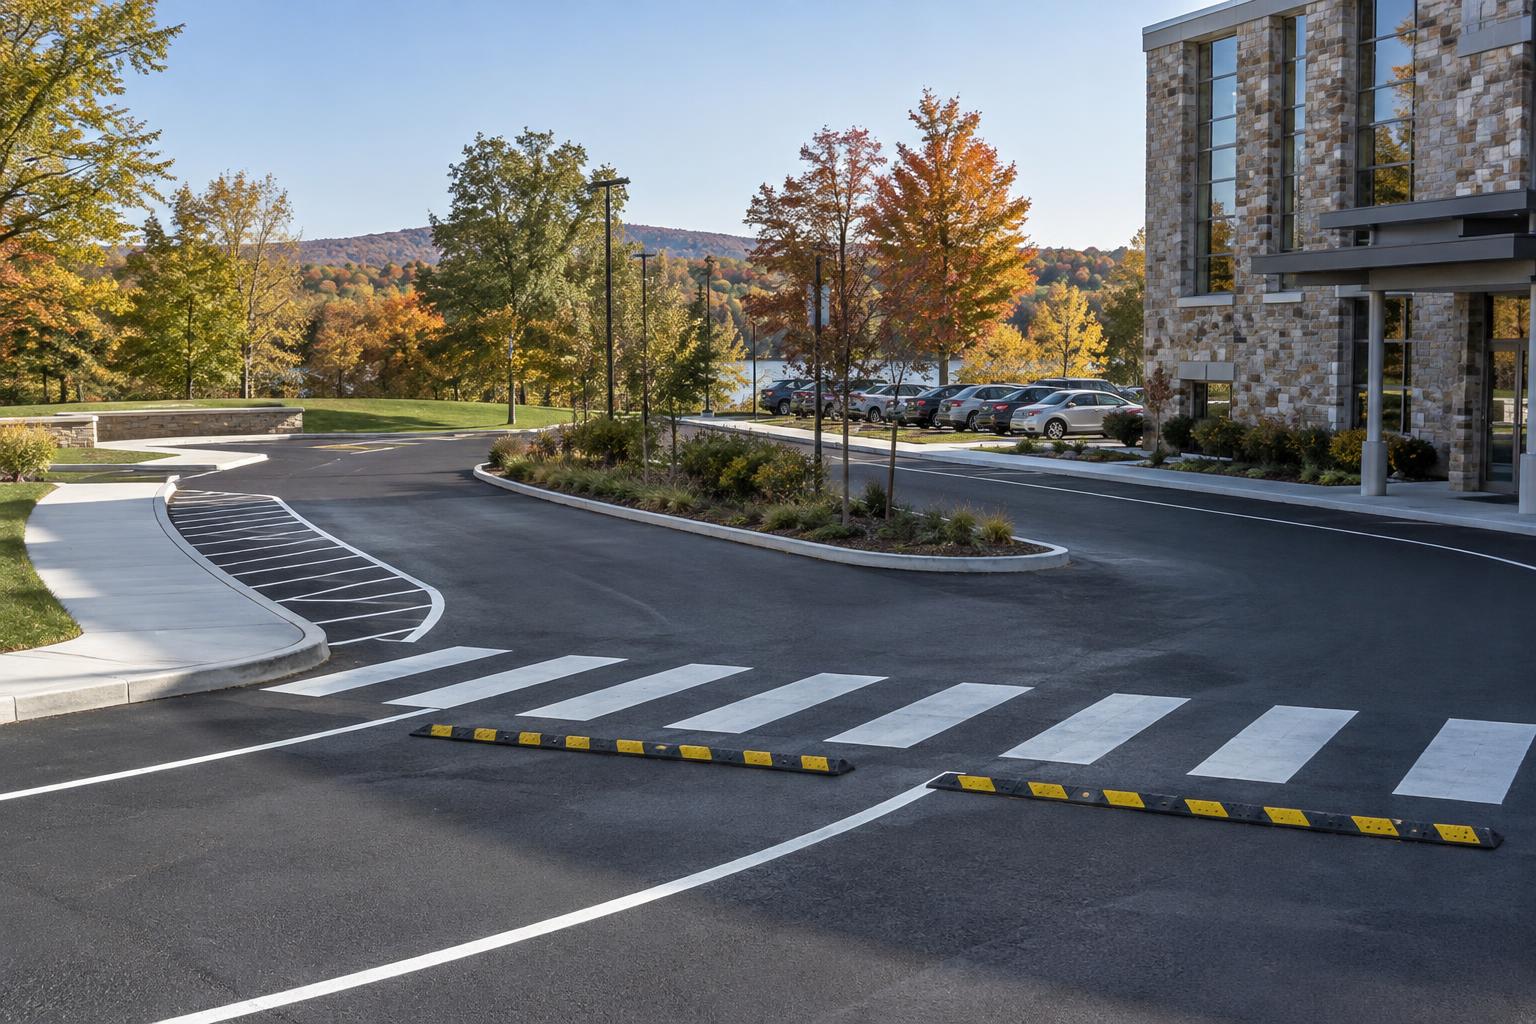
A speed bump is generally shorter and more abrupt than a speed hump. Speed tables use a longer raised platform; some are designed as raised crossings. These devices are not interchangeable, and placement should account for vehicle clearance, shuttle passengers, drainage, and winter equipment.
Consider whether a raised device is needed at all. Better lane definition, removal of excess pavement width through an approved layout, or a properly designed island may make travel more predictable. Permanent geometry changes need more design coordination than a marking refresh.
Avoid placing a bump where drivers must turn sharply or where runoff would become trapped. A raised crossing also needs accessible transitions and clear pedestrian priority. Have the design reviewed for applicable traffic-control requirements rather than choosing a device solely from a product catalog.
Design for Hudson Valley winter maintenance and sloped sites
Hudson Valley freeze-thaw cycles make small surface and drainage defects worth understanding. Water entering openings can freeze, expand, and loosen pavement. Spring thaw can also reveal soft support or settlement that was less apparent during colder weather.
On sloped campuses, follow water from uphill areas through the loop instead of examining only the nearest catch basin. A new patch, raised table, or overlay can redirect runoff across a curb ramp. Check proposed elevations at loading areas, crossing approaches, drains, and building entrances before construction.
Plan snow storage alongside the circulation layout. Snow piles should not occupy access aisles, cover signs, or block views between drivers and pedestrians. Meltwater from stored snow should not routinely cross the main walking route and refreeze.
Discuss plowing with the maintenance team before choosing traffic-calming devices. Raised features, modular products, and pavement-mounted markers all need review for compatibility with the campus's equipment and operating practices. Plow abrasion, winter grit, and salt residue also influence marking upkeep and surface preparation.
April through November is the general paving season in the Hudson Valley, not a promise that every day is suitable. Asphalt placement and marking application depend on temperature, moisture, material specifications, and site conditions. A cold, wet period or saturated base can change the appropriate sequence.
Review the completed layout after its first winter of operation. Note where plows push snow, where water collects, and whether markings remain readable at pickup time. That operational review helps distinguish maintenance needs from layout details that should be adjusted.
Phase construction around continuous pedestrian and campus access
Keeping a college operating requires more than leaving a driveway open. Each phase needs a usable passenger-loading location, a continuous accessible route, and clear separation between people and construction equipment. Temporary arrangements should be established before the normal route closes.
- Confirm the approved layout, work limits, utility information, and campus access requirements.
- Set up temporary loading, signs, barriers, and an accessible pedestrian detour.
- Complete drainage, curb, and supporting-base repairs before final surface work.
- Patch, mill, or pave the designated phase while protecting adjacent routes.
- Allow surfaces and marking materials to reach their specified opening condition.
- Install final signs and markings, inspect the route, and reopen that phase before moving operations.
A loop may be divided into work zones, but dividing it is not always practical. Narrow pavement, limited turning space, or a single building entrance may require a temporary loading location elsewhere. Confirm that the alternate location works for shuttle lifts and people who cannot use stairs.
Use barriers that make the intended path understandable without sending pedestrians into vehicle travel. Do not route people over loose material or leave an abrupt pavement edge across the walking route. Coordinate essential response access with campus public safety throughout the work.
Publish one consistent access map for students, employees, vendors, and ride-hail users. Identify who can authorize reopening and how weather-related changes will be communicated. The loop should reopen based on material readiness and a completed access check, not simply because a scheduled closure has ended.
Put layout details and operating responsibilities in the written scope
A clear scope connects pavement work to the approved pedestrian and loading layout. Descriptions such as 'repair loop and repaint lines' leave too much unresolved. Use a marked plan showing repair boundaries, crossings, loading bays, accessible features, signs, and traffic-calming locations.
Specify pavement preparation, removal limits, repair materials, and how underlying conditions will be handled if exposed material differs from expectations. Identify finished elevations and transitions wherever pavement meets a curb ramp, sidewalk, drain, or raised feature. State who approves changes before additional work proceeds.
- Marking dimensions, colors, symbols, material system, preparation, and removal of obsolete markings.
- Traffic-calming geometry, attachment or construction method, signs, and drainage provisions.
- Responsibility for design review, accessibility checks, permits, and public-road coordination.
- Phase boundaries, temporary routes, loading relocations, and barrier maintenance.
- Opening criteria, cleanup, inspection, and documentation of the completed layout.
Before requesting work, the owner should gather available site plans, utility records, accessibility concerns, and reports of recurring operational conflicts. Provide shuttle dimensions, delivery needs, snow-removal practices, and campus dates that affect access. Identify private utilities and arrange appropriate utility locating before excavation.
Assign one campus contact to coordinate facilities, transportation, public safety, and accessibility decisions. Confirm which approvals belong to the college and which require outside review. If work touches a state or county road, verify the responsible highway agency rather than assuming Town approval covers the entire project.
Avoid common loop mistakes and check the finished route
The most common mistake is treating the project as a paint refresh when the real problem is conflicting movement. Repainting the same crossing behind stopped buses preserves the same visibility issue. Similarly, adding a speed bump does not solve a loading queue that blocks the sidewalk.
Other mistakes include leaving obsolete arrows visible, using loading aisles for waiting vehicles, and placing signs where drivers cannot read them before deciding. A newly paved surface can still be uncomfortable to cross if transitions are uneven. Review the entire trip from vehicle door to building entrance.
- Can visitors distinguish loading space from the through lane?
- Are pedestrians visible before they enter each crossing?
- Is the accessible route continuous, unobstructed, and checked against the approved design?
- Are pavement transitions smooth and drainage paths unobstructed?
- Are old markings removed and new signs consistent with the layout?
- Can shuttles and maintenance vehicles operate as planned?
After reopening, observe an actual busy pickup period rather than relying only on an empty-site walkthrough. Check whether drivers stop in the intended location and whether pedestrians use the planned route. If not, investigate whether signs, placement, enforcement, or the layout itself needs adjustment.
For colleges across Dutchess County, we see the strongest starting point as a shared plan: pavement condition, pedestrian access, vehicle circulation, and maintenance considered together. That keeps line striping and traffic-calming decisions tied to how the campus works each day.
2026 Commercial Pavement Budget Planner
A contractor-built worksheet for budgeting parking lot and roadway work: cost ranges by scope, a condition-scoring sheet, phasing guidance, a bid-comparison checklist, and the questions to ask before you sign.
Common questions
Can we improve pedestrian safety without rebuilding the entire drop-off loop?+
Often, yes, if the pavement and basic layout are suitable. Localized repairs, removal of confusing markings, revised loading locations, and clearer signs may address the main conflicts. Start with observation and a condition assessment. If the problem involves inaccessible grades, inadequate turning space, or weak pavement support, paint alone will not resolve it; targeted construction or a redesigned layout may be needed.
Are speed bumps appropriate near college shuttle stops?+
They can be appropriate in some low-speed settings, but they are not the default choice. Abrupt devices can affect passenger comfort, vehicle clearance, and plowing. Review the shuttle fleet, approach alignment, drainage, and response-access requirements before selecting a bump, hump, or table. Sometimes moving a stop or clarifying the vehicle path addresses the conflict more directly than adding a raised device.
What should accessible parking striping include near a drop-off loop?+
Accessible parking requires more than a pavement symbol. The layout needs properly sized spaces and access aisles, appropriate signs, suitable slopes, and a connection to an accessible route under the applicable standards. Passenger loading has separate requirements. Keep parking access aisles out of the loop's travel path, and have the complete layout reviewed rather than treating striping as an isolated compliance task.
What is the best parking lot striping paint for a campus loop?+
There is no single best material for every loop. Selection depends on pavement condition, traffic wear, snowplowing, application weather, and available drying time. Crosswalks and frequently crossed lane lines may have different wear demands from parking stalls. Ask for the proposed marking system, preparation method, and opening requirements in writing, including how the material performs on the specific surface being marked.
Do changes to a private college loop need Town approval?+
Requirements depend on the work. Routine maintenance and changes to grading, drainage, accessible facilities, driveways, or public sidewalks may be treated differently. Confirm the scope with the Town of Poughkeepsie's building or engineering department before construction. Work affecting a county or state road may also require highway-agency coordination. Private ownership does not by itself establish that every proposed change is exempt from review.
What maintenance guidelines should we use after the work is complete?+
Keep a marked site plan and inspect the loop after winter, after significant surface damage, and when campus use changes. Look for worn markings, loose pavement, blocked drains, displaced signs, and snow-storage conflicts. Observe pickup operations as well as physical condition. Record concerns and distinguish routine upkeep from changes requiring design review. To discuss your campus loop, call Avello at 845-454-3650 or request a free quote.
Avello provides free commercial pavement assessments across the Hudson Valley. No obligation — you keep the documentation either way.