
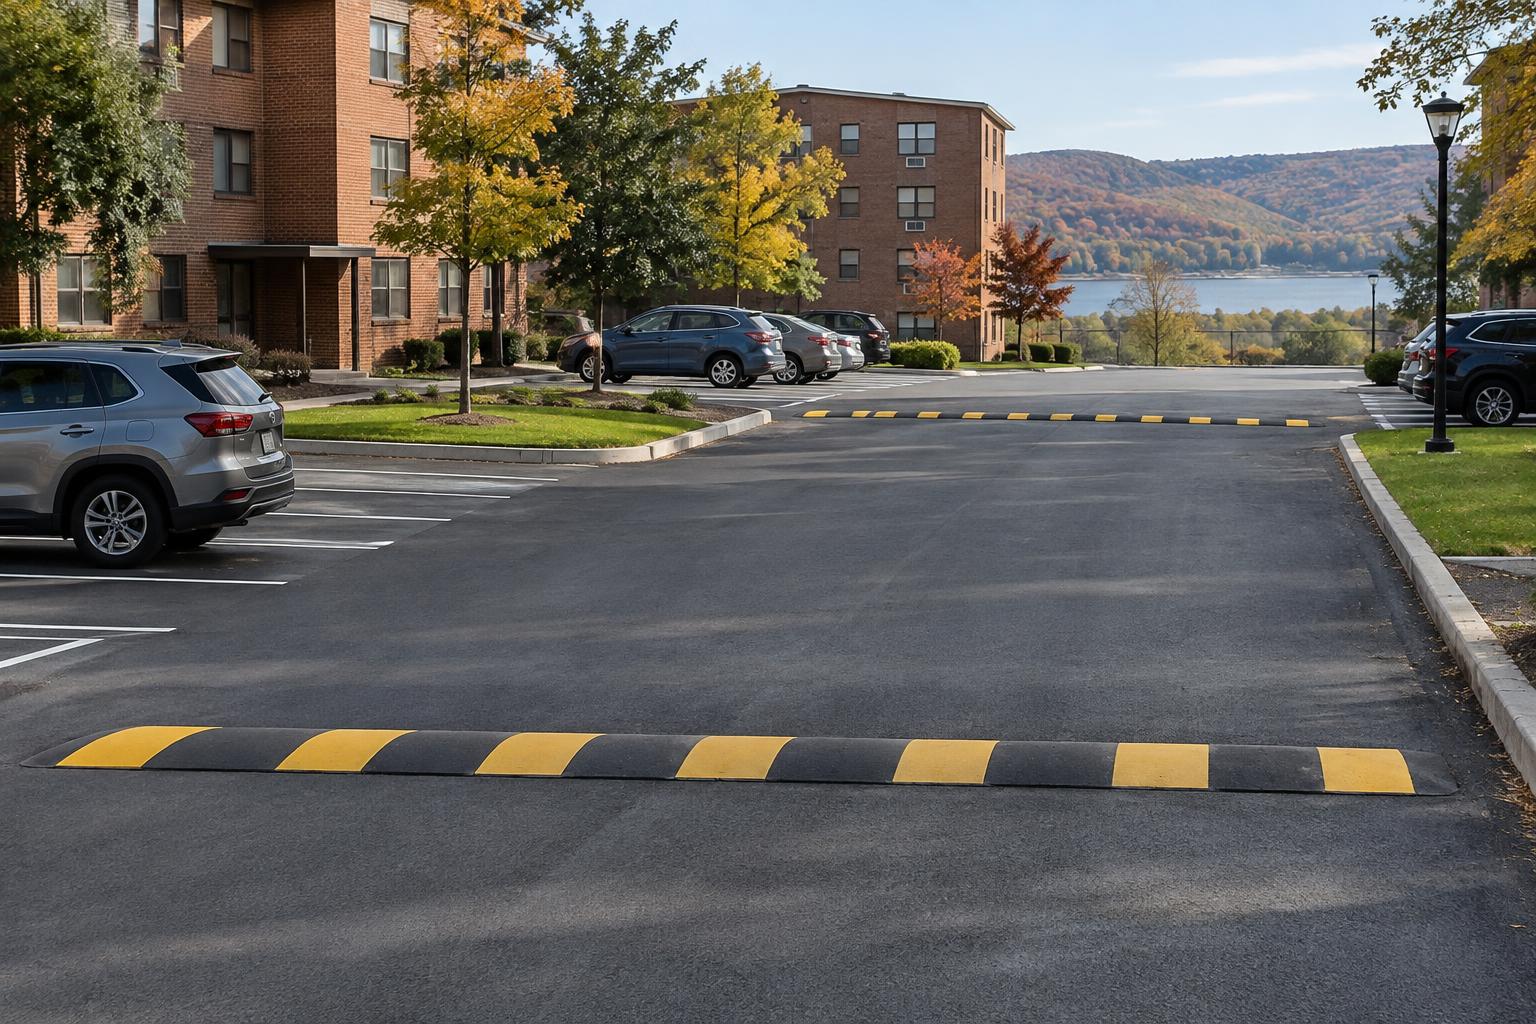
Public housing traffic calming works best when the device matches the street, residents’ walking routes, pavement condition, and maintenance needs. Start by confirming road ownership, observing vehicle movement, and checking drainage before choosing speed bumps, humps, tables, or a revised striping layout. In the City of Poughkeepsie, coordinate public-street questions with the appropriate city department and include fire, sanitation, and snow-removal access in the review. A clear scope should connect pavement preparation, device geometry, signs, markings, resident communication, and phased construction so the property remains usable.
Start with a traffic-calming plan, not an order for speed bumps
For public housing authorities in the City of Poughkeepsie, the right approach is to identify where vehicles and people conflict, confirm who controls the roadway, and choose measures that fit that location. A short speed bump may suit a very low-speed parking aisle. A longer speed hump, speed table, or redesigned approach may fit an internal residential drive better. Some locations need clearer circulation and sight lines before they need a raised device.
Start with the concern residents are describing. Is it fast travel through a straight drive, a blind turn near a building entrance, or drivers cutting through a parking area? Watch the location during school transportation, deliveries, evening arrivals, and other relevant periods. Resident reports help identify patterns; measured speeds and observations help distinguish a speed problem from a visibility or circulation problem.
Next, separate housing-authority property from public streets, sidewalks, and rights-of-way. Ownership alone does not settle every approval question, particularly where an internal drive meets a city street or serves public travel. Ask the City of Poughkeepsie building or engineering department which reviews apply and whether another department must authorize the proposed treatment. Do not assume a device can extend onto a public approach.
At Avello, we approach installation as pavement work that must support a sound traffic plan. The authority should establish the intended circulation and obtain any necessary design review first. That gives residents, maintenance staff, and the contractor a shared understanding of what the work is meant to accomplish.
Check the pavement and drainage beneath each proposed device
A traffic-calming device is only as dependable as the pavement supporting it. Walk each proposed location and the approaches on both sides. Look for loose aggregate, open cracks, potholes, wheel-path depressions, patched areas that have settled, and broken pavement edges. Photograph these conditions and mark them on a simple site plan so the repair limits are clear.
Surface wear does not always mean the entire pavement needs replacement. A firm surface with isolated defects may need localized repairs before installation. Widespread interconnected cracks, recurring depressions, or movement under vehicle loads can point to weak material below the asphalt. Where the cause is uncertain, a pavement professional may recommend cores or limited test openings rather than guessing from appearance.
Inspect after rain when practical. Water lines, sediment trails, and puddles show how runoff actually crosses the drive. On sloped sites, a raised asphalt device can act like a small dam and redirect water toward a doorway, sidewalk, or neighboring parking space. The design needs to preserve drainage without leaving a convenient path for drivers to bypass the device.
- Whether pavement is firm, cracked, loose, depressed, or repeatedly patched.
- Where runoff enters, crosses, and leaves the proposed installation area.
- The condition and elevation of nearby catch basins, utility covers, and curb edges.
- Whether pavement width allows the intended vehicle path without shoulder damage.
- Whether the proposed work affects a sidewalk, curb ramp, or accessible route.
Separate necessary pavement repairs from optional improvements in the budget. That makes it easier for the authority to compare an installation-only proposal with one that includes the preparation actually needed.
To understand the work behind these options, compare Avello’s speed bumps & traffic calming, line striping services.
Match bumps, humps, tables, and striping to the actual problem
“Speed bump” is often used for every raised treatment, but the differences matter. The travel length and shape determine how a vehicle passes over the device. A housing authority should specify an approved profile rather than asking a crew to build something that merely looks substantial.
- Short speed bumps: These create an abrupt vertical movement and generally fit parking areas where vehicles already travel very slowly. They are not interchangeable with longer devices designed for residential streets.
- Speed humps: These have a longer, rounded profile that spreads the rise and fall over more travel distance. They may fit internal residential drives after review of speeds, grades, vehicle access, and drainage.
- Speed tables: These use ramps and a flatter top. They may suit a broader traffic-calming location, but a table intended as a pedestrian crossing requires separate attention to accessibility, drainage, visibility, and crossing design.
- Speed cushions: These leave planned gaps between raised sections. They can accommodate certain wider-track vehicles, but suitability depends on actual vehicle dimensions and whether other drivers can evade the treatment.
- Removable manufactured devices: These can support a trial or selected parking-lot application. Anchoring, surface condition, winter removal, storage, and manufacturer requirements need to be included in the decision.
- Striping and circulation changes: Defined travel paths, clearer pedestrian areas, parking setbacks, and an appropriately designed narrower visual corridor may help where confusion or excessive open pavement contributes to the concern.
Striping alone does not physically control speed. It can, however, make the intended behavior easier to understand and support a raised treatment. Likewise, a posted instruction is not a substitute for a layout drivers can recognize in time.
Compare ongoing obligations as well as installation work. Asphalt treatments remain in place through winter, while some removable products require seasonal handling. Either option needs visible markings, periodic inspection, and a plan for repairs. The best choice is the one that fits the authority’s operating practices, not simply the easiest item to purchase.
Place traffic calming around residents’ routes and service access
Map where residents actually walk, including routes to mailboxes, laundry rooms, refuse areas, play spaces, transit stops, and building entrances. Formal sidewalks may not capture every established walking path. Observe residents using wheelchairs, walkers, strollers, or shopping carts without assuming everyone can take a longer detour.
Keep raised vehicle devices out of accessible pedestrian routes unless the entire treatment is specifically designed as an accessible crossing. A speed hump does not become a suitable crosswalk simply because stripes are painted across it. Raised crossings need coordinated ramp transitions, slopes, drainage, and any required detectable warnings. They also need a clear connection to the sidewalk system.
Review turning movements for fire apparatus, ambulances, sanitation trucks, accessible transportation, and routine deliveries. Ask the relevant operators to review proposed locations before construction, especially on a sole access drive. Their concerns may affect device type, profile, spacing, or placement. Keep hydrants, loading areas, and designated access lanes usable.
Avoid choosing locations solely because they are directly outside the building with the most complaints. Braking, acceleration, and vehicle-body movement can create noise near apartments. A poorly placed device can also encourage drivers to move into parking spaces or along a soft shoulder to avoid it. Placement should account for these likely behaviors.
Check approach visibility in daylight and after dark. Parked vehicles, landscaping, curves, and uneven lighting can hide both a device and people crossing nearby. An engineer should establish appropriate placement and spacing where the roadway conditions require it; there is no single interval that suits every housing property.
Design for Hudson Valley winters and hillside runoff
Dutchess County conditions should influence both the design and the construction date. Freeze-thaw cycles let water enter openings, freeze, and widen damaged areas. Spring thaw can reveal softened support, settlement, and drainage problems that were less apparent during dry weather. Inspect questionable pavement again after thaw before finalizing repair quantities.
The Hudson Valley paving season generally runs from April through November, but those months are a planning window, not automatic approval to pave. Air and pavement temperatures, rain, material requirements, and the condition of the underlying surface determine whether a particular day is suitable. Small raised asphalt features need careful placement and compaction just as larger pavement work does.
Bring snow-removal staff into the review early. They need to know the finished profile, device locations, and any manufacturer restrictions on plowing. Abrupt edges, exposed anchors, and deteriorated approaches can complicate snow removal. Include the devices on the snow plan and use approved markers or other location aids where appropriate.
Plowing and winter grit wear markings, while salt and moisture can affect exposed hardware and already damaged surfaces. Select manufactured components for the intended environment and maintain them according to their instructions. Plan a post-winter inspection rather than assuming the original markings and anchors remain in the same condition.
On Poughkeepsie’s sloped properties, trace runoff beyond the device itself. Water diverted onto a walking route can become an icing concern even if the drive appears to drain. Any proposed drainage opening needs review for flow, debris accumulation, and vehicle bypass. The answer should come from the site’s grades, not a standard detail used without checking.
Write a scope that defines the traffic treatment and its supporting work
A clear written scope should let each bidder price the same finished result. For traffic calming, the central document is a location plan tied to an approved device detail. Label each treatment and show its relationship to buildings, parking, intersections, drainage structures, and pedestrian routes.
- Device type, material, dimensions, profile, location, and the design document governing installation.
- Pavement repair limits, preparation methods, bonding requirements for asphalt work, and anchoring requirements for manufactured products.
- Drainage provisions, finished elevations where needed, and protection of utility covers and catch basins.
- Signs and pavement markings, including the applicable traffic-control requirements and who supplies and installs each item.
- Removal or obscuring of conflicting old markings, with a method suitable for the existing pavement.
- Construction phases, resident access arrangements, temporary controls, parking restrictions, and reopening criteria.
- Inspection responsibilities, acceptance checks, cleanup, maintenance information, and a process for approving concealed-condition work.
The scope should also assign responsibility for design, permits, and agency coordination. Public-road treatments and some roads open to public travel may be subject to traffic-control standards that do not apply in the same way to every parking aisle. Have the responsible designer or agency resolve applicability rather than leaving the installer to make that determination during construction.
For line striping, identify a pavement-marking material compatible with the surface and expected service. The best paint is not a universal brand or chemistry; preparation, weather, traffic exposure, and drying conditions matter. State which markings are being restored and which are changing so a crew does not recreate an outdated circulation pattern.
Housing authorities should check their procurement rules and any funding conditions before solicitation. Include required approvals, documentation, and applicable labor provisions in the bid package rather than introducing them after pricing.
Prepare residents and phase construction around daily housing operations
Before scheduling, the manager should assemble a current site plan, access restrictions, delivery schedules, resident accommodation needs, and contact information for service providers. Identify who can authorize field changes and who will communicate with residents. One shared phasing plan is more useful than separate informal instructions from several departments.
- Confirm approvals and mark proposed locations in the field. Review them with management and the appropriate design professional before permanent work begins.
- Notify residents through the authority’s usual accessible communication channels. Show affected parking spaces, walking routes, work periods, and the contact for access questions.
- Establish temporary controls and clear only the area needed for the current phase. Provide a protected, usable pedestrian route rather than directing people through active equipment paths.
- Complete drainage adjustments and supporting pavement repairs. Check the prepared area before covering conditions that require review.
- Install the approved devices and allow asphalt or manufactured systems to become ready for use under the applicable installation requirements.
- Install signs and markings in the planned sequence, maintain temporary controls as needed, and reopen only after the responsible party confirms readiness.
- Walk the completed work with management and document remaining items, maintenance requirements, and the final layout.
Work by building cluster or circulation segment where the layout permits. Avoid closing two routes that residents rely on as alternatives to each other. A partial-width installation is not automatically a safe solution; it may invite drivers around unfinished edges or create opposing traffic conflicts. The contractor and designer should evaluate whether staged width construction is suitable.
A property with one entrance may need scheduled work intervals and controlled vehicle passage. Some steps still require a full temporary closure of the immediate work area. Explain those limits in advance and coordinate essential transportation and service access instead of promising uninterrupted travel across fresh work.
Avoid common mistakes and check whether the plan works
The most common mistake is treating installation as the whole solution. A raised device placed on worn pavement, across a drainage path, or beside an easy bypass can create new maintenance needs without addressing the original behavior. Another mistake is using a more abrupt profile to compensate for uncertain placement. Geometry should follow the approved design, not an on-site impression of how much slowing is enough.
Do not leave signs, markings, or resident communication as optional finishing touches. Drivers need understandable approaches, and residents need to know whether their usual walking or parking arrangements have changed. Avoid promising a particular speed reduction without a basis for that claim. Evaluate the result using observations comparable to those collected before construction.
- Confirm ownership, approval requirements, and the problem being addressed.
- Inspect pavement, runoff, walking routes, and service-vehicle movements.
- Approve the device profile, location, signs, and striping together.
- Assign resident notices, temporary access, and construction oversight.
- Check the finished work after rain and again after winter.
- Compare vehicle behavior and resident feedback with the original observations.
Keep a simple maintenance record for each device. Note surface damage, loose components, worn markings, ponding, and reports of drivers diverting elsewhere on the property. If the concern shifts to another aisle, revisit the overall circulation plan rather than automatically adding another bump. The goal is a calmer, clearer housing environment that staff can maintain.
To discuss traffic-calming installation and line striping for your City of Poughkeepsie housing property, call Avello Asphalt & Construction at 845-454-3650 or request a free quote.
2027 Commercial Pavement Budget Planner
A contractor-built worksheet for budgeting parking lot and roadway work: cost ranges by scope, a condition-scoring sheet, phasing guidance, a bid-comparison checklist, and the questions to ask before you sign.
Common questions
Can a public housing authority install speed bumps without city approval?+
Do not assume approval is unnecessary because the authority owns the pavement. First confirm property boundaries, roadway status, access agreements, and whether the treatment affects a public street or sidewalk. Ask the City of Poughkeepsie building or engineering department which reviews apply. The authority should also check its internal procurement and funding requirements. Resolve responsibility for permits and design review before requesting installation prices.
Are speed humps usually a better choice than short speed bumps?+
They serve different settings. Short bumps generally suit very low-speed parking movements, while longer humps may be appropriate on internal residential drives. Neither is the default for every housing property. Grades, drainage, available approach distance, resident crossings, and service vehicles all matter. A qualified designer can select the profile and placement where engineering review is needed, rather than relying on the product name alone.
Can a speed table double as an accessible pedestrian crossing?+
Potentially, but only when it is designed as a crossing rather than simply striped afterward. The plan must address sidewalk connections, usable width, slopes, transitions, drainage, visibility, and any required detectable warnings. A raised surface that works for vehicle slowing may not work for someone using a wheelchair or walker. Coordinate the pedestrian design and traffic-control requirements before constructing the table.
What pavement-marking paint works best around traffic-calming devices?+
There is no single best paint for every property. Specify a pavement-marking system suited to the asphalt condition, traffic exposure, installation weather, and applicable requirements. Surface cleaning and proper drying conditions are essential. Where nighttime visibility matters, include the appropriate visibility requirements in the specification. Plan for inspection and refreshing because tires, plows, and winter grit can wear markings around raised treatments.
Can removable speed bumps stay in place during winter plowing?+
That depends on the product, anchoring system, pavement, and snow-removal method. Some systems require removal or special operating precautions, while others are intended to remain installed under specified conditions. Review the manufacturer’s instructions with maintenance staff before purchase. If seasonal removal is planned, include labor, storage, anchor protection, reinstallation, and a way to manage traffic when the device is absent.
How should an authority decide whether traffic calming has helped?+
Compare conditions before and after installation at similar times and under similar operating conditions. Review observed or measured speeds, driver yielding, pedestrian conflicts, bypass behavior, noise reports, and service-vehicle feedback. Also inspect drainage and pavement condition. Resident feedback is valuable, but it works best alongside consistent observations. If results are mixed, review placement and circulation with the designer before adding more devices.
Avello provides free commercial pavement assessments across the Hudson Valley. No obligation — you keep the documentation either way.